The DIY Polymer Clay Backsplash
Here is everything that I used to make this frugal backsplash using polymer clay that bakes in your home oven in just 15 minutes. Besides the great price tag, this lightweight tile can be applied either permanently with grout or temporarily using your removable adhesives of choice, I love the versatility! I did use affiliate links but these are all products that I bought for myself and would recommend. Using these links when you shop helps me to be able to create more DIY’s for you! Be sure to follow me on Tik Tok for more like this @homecanvas
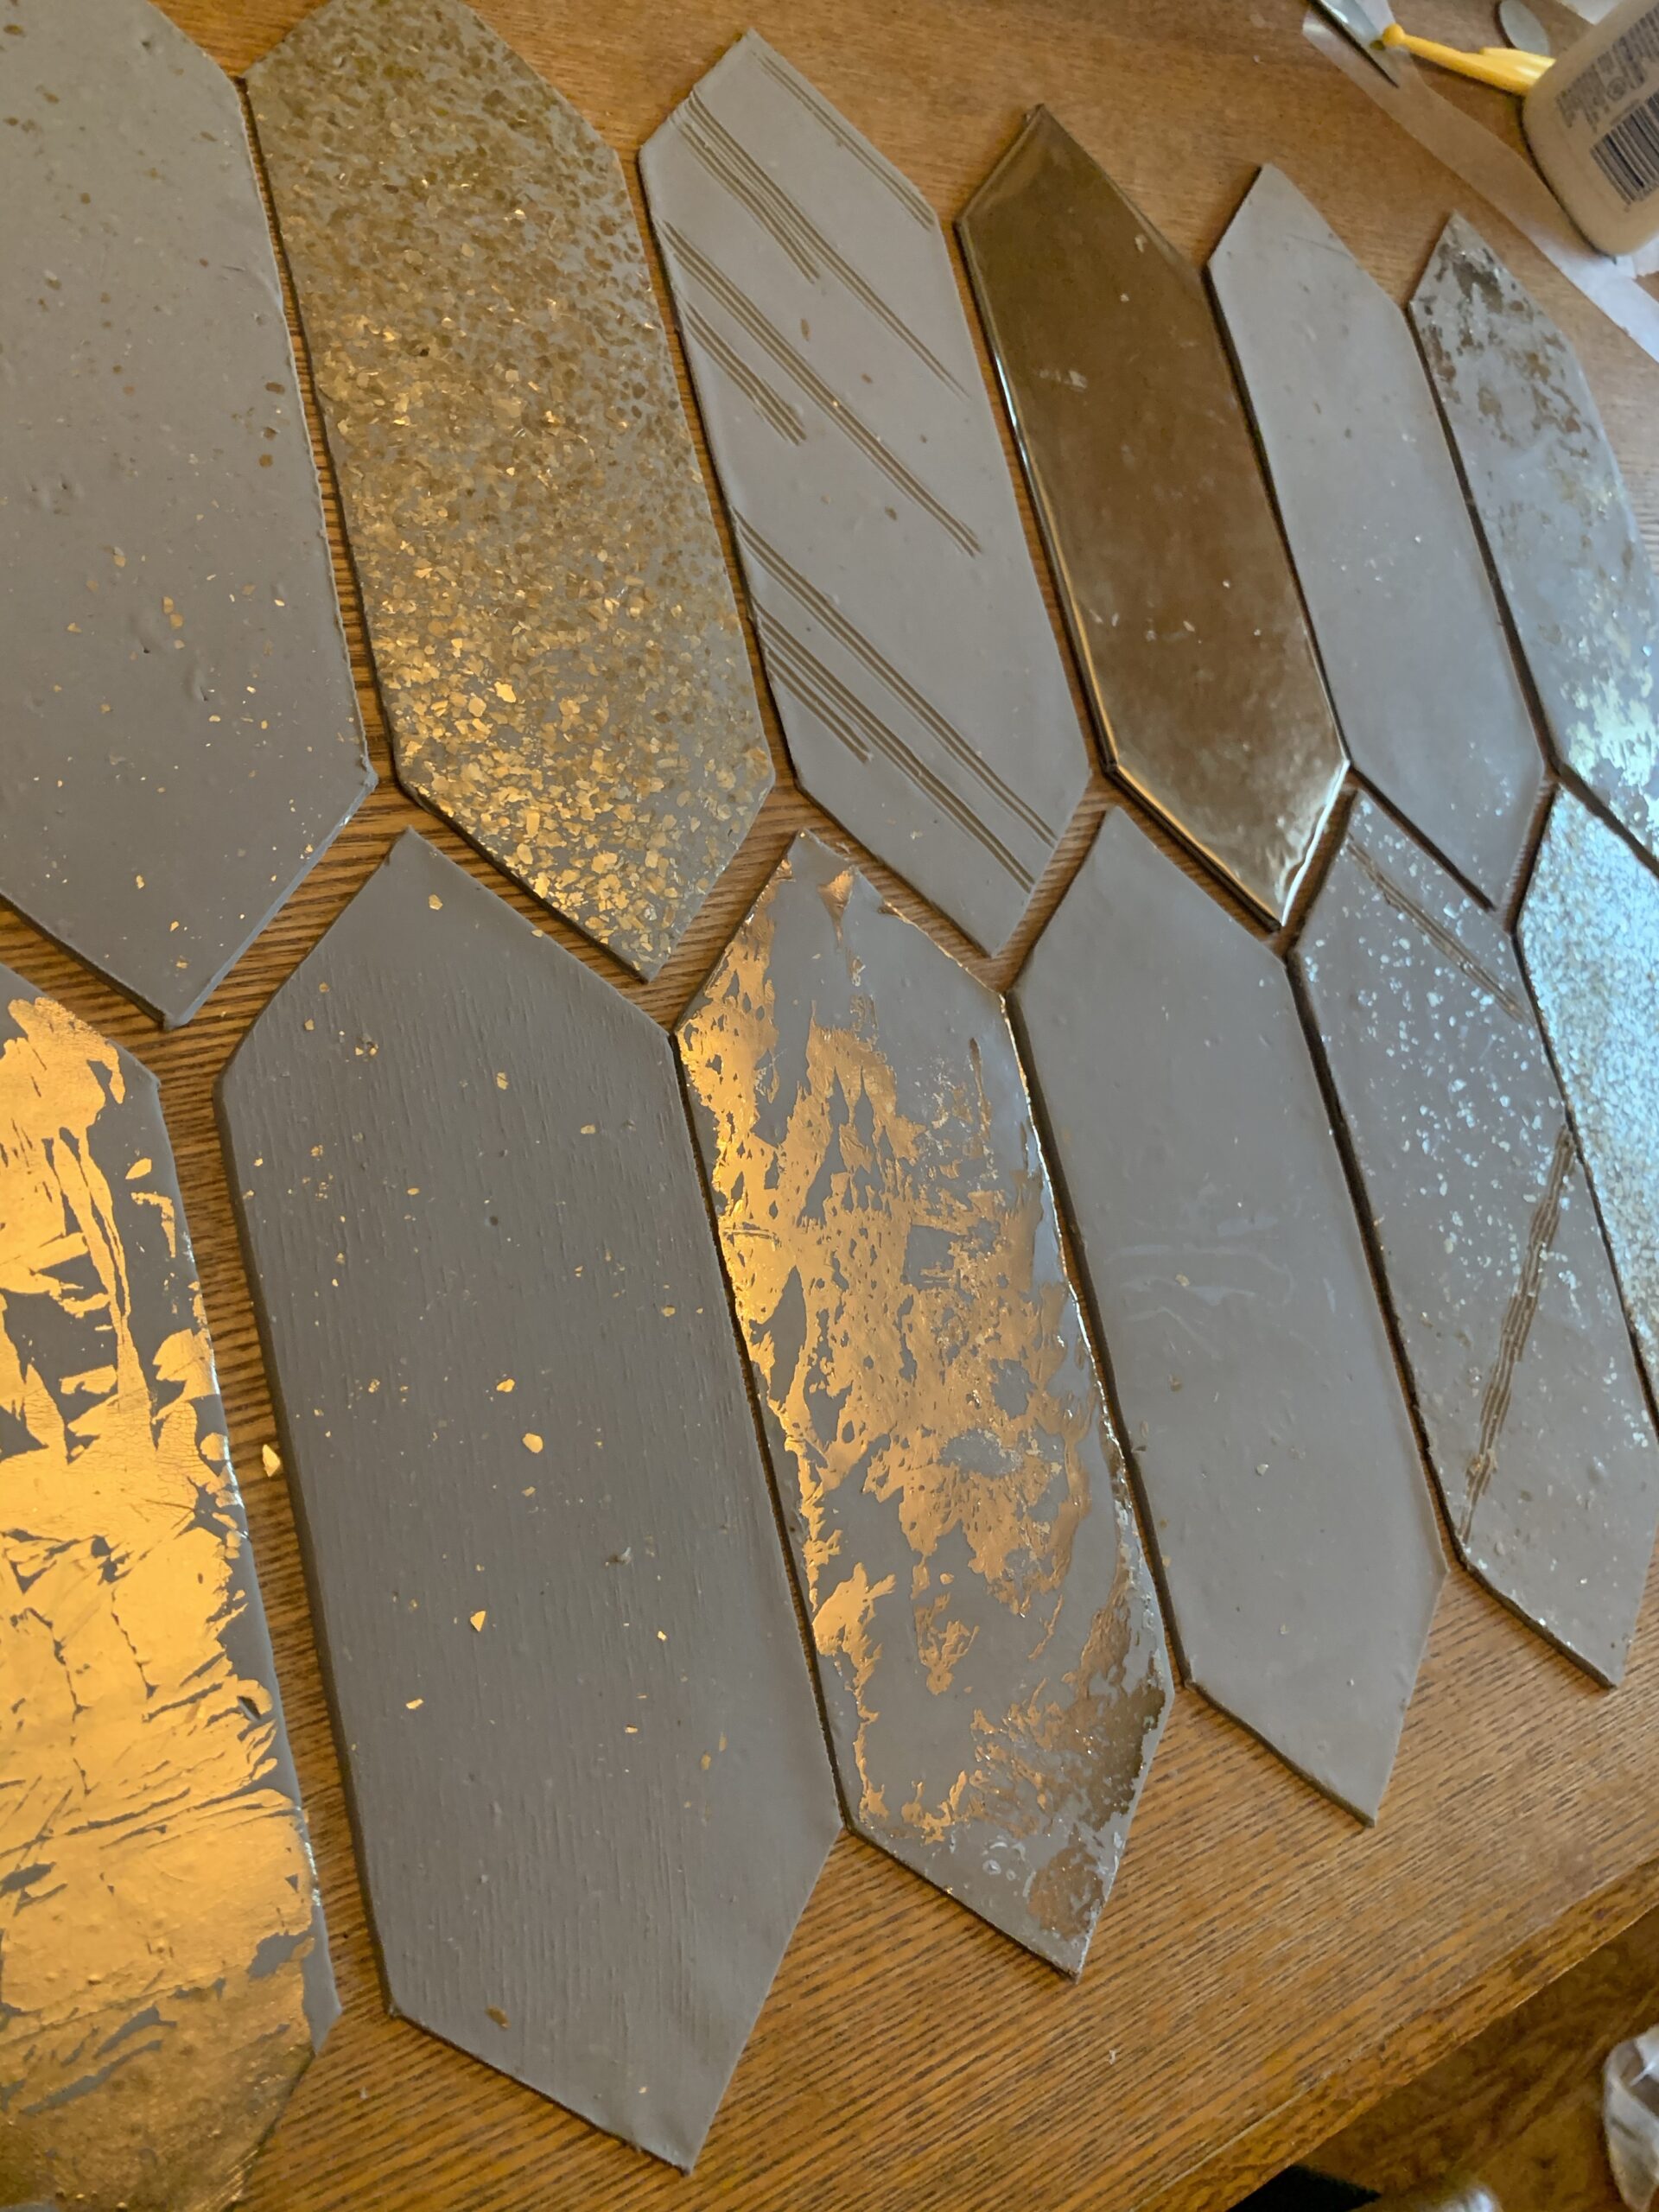
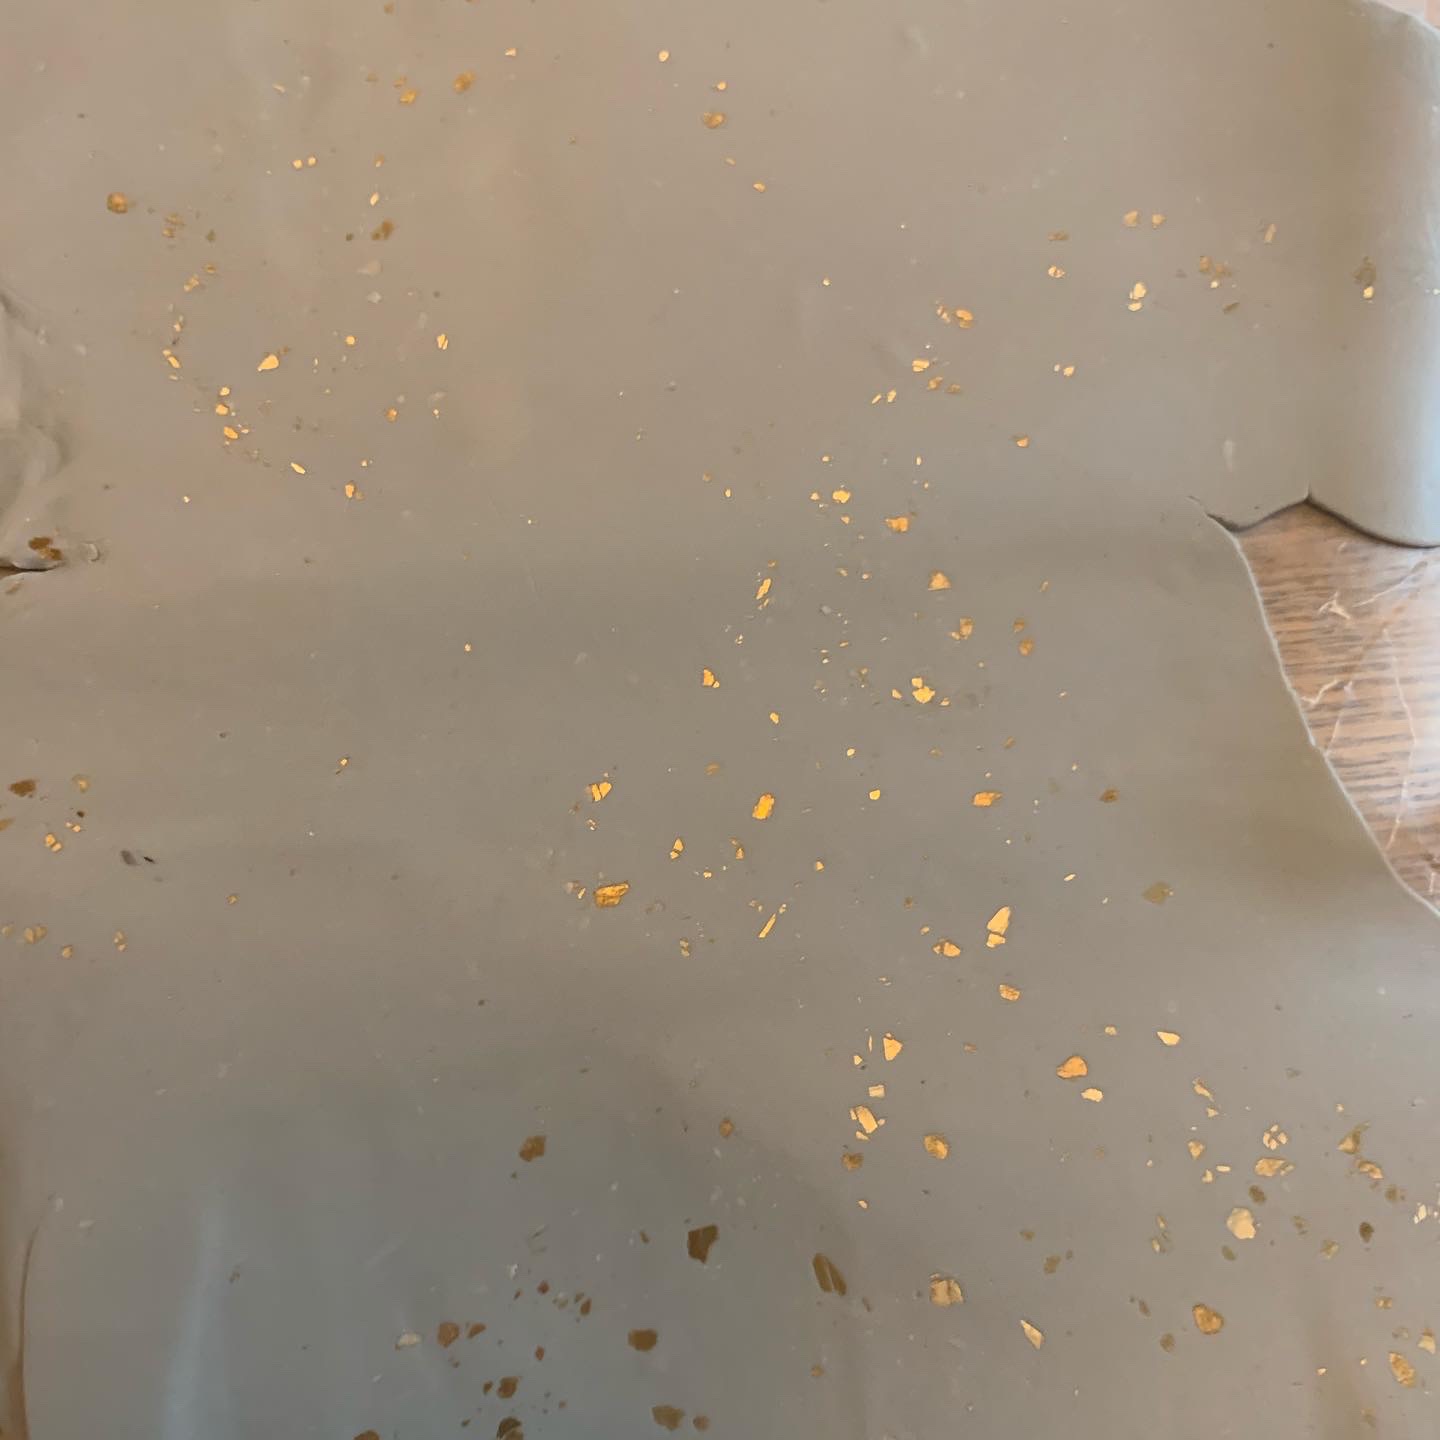
I did not add color to this grey clay, I left it as is but you can mix in color using alcohol inks, paints, foil, or the mica flakes like I did. If you have a favorite mix in or ideas I would love to hear them! I bought this and for the tiles that I used which are quite large, I was able to make 15 tiles per pack, and this comes with 3 packs for $30 equaling 5 lbs. The clay was a bit firm but I have a “pinch pot” conditioning trick that will help you soften it fast using only your hands.
Here is what I used for the gold flakes that you see in the clay. I really wanted something natural that wouldn’t crumble and this was perfect. I love the stone almost terrazzo pattern that it gave me and who can beat $5? A tiny bit of these flakes go a LONG way, and I have plenty leftover for more tiles and other projects.
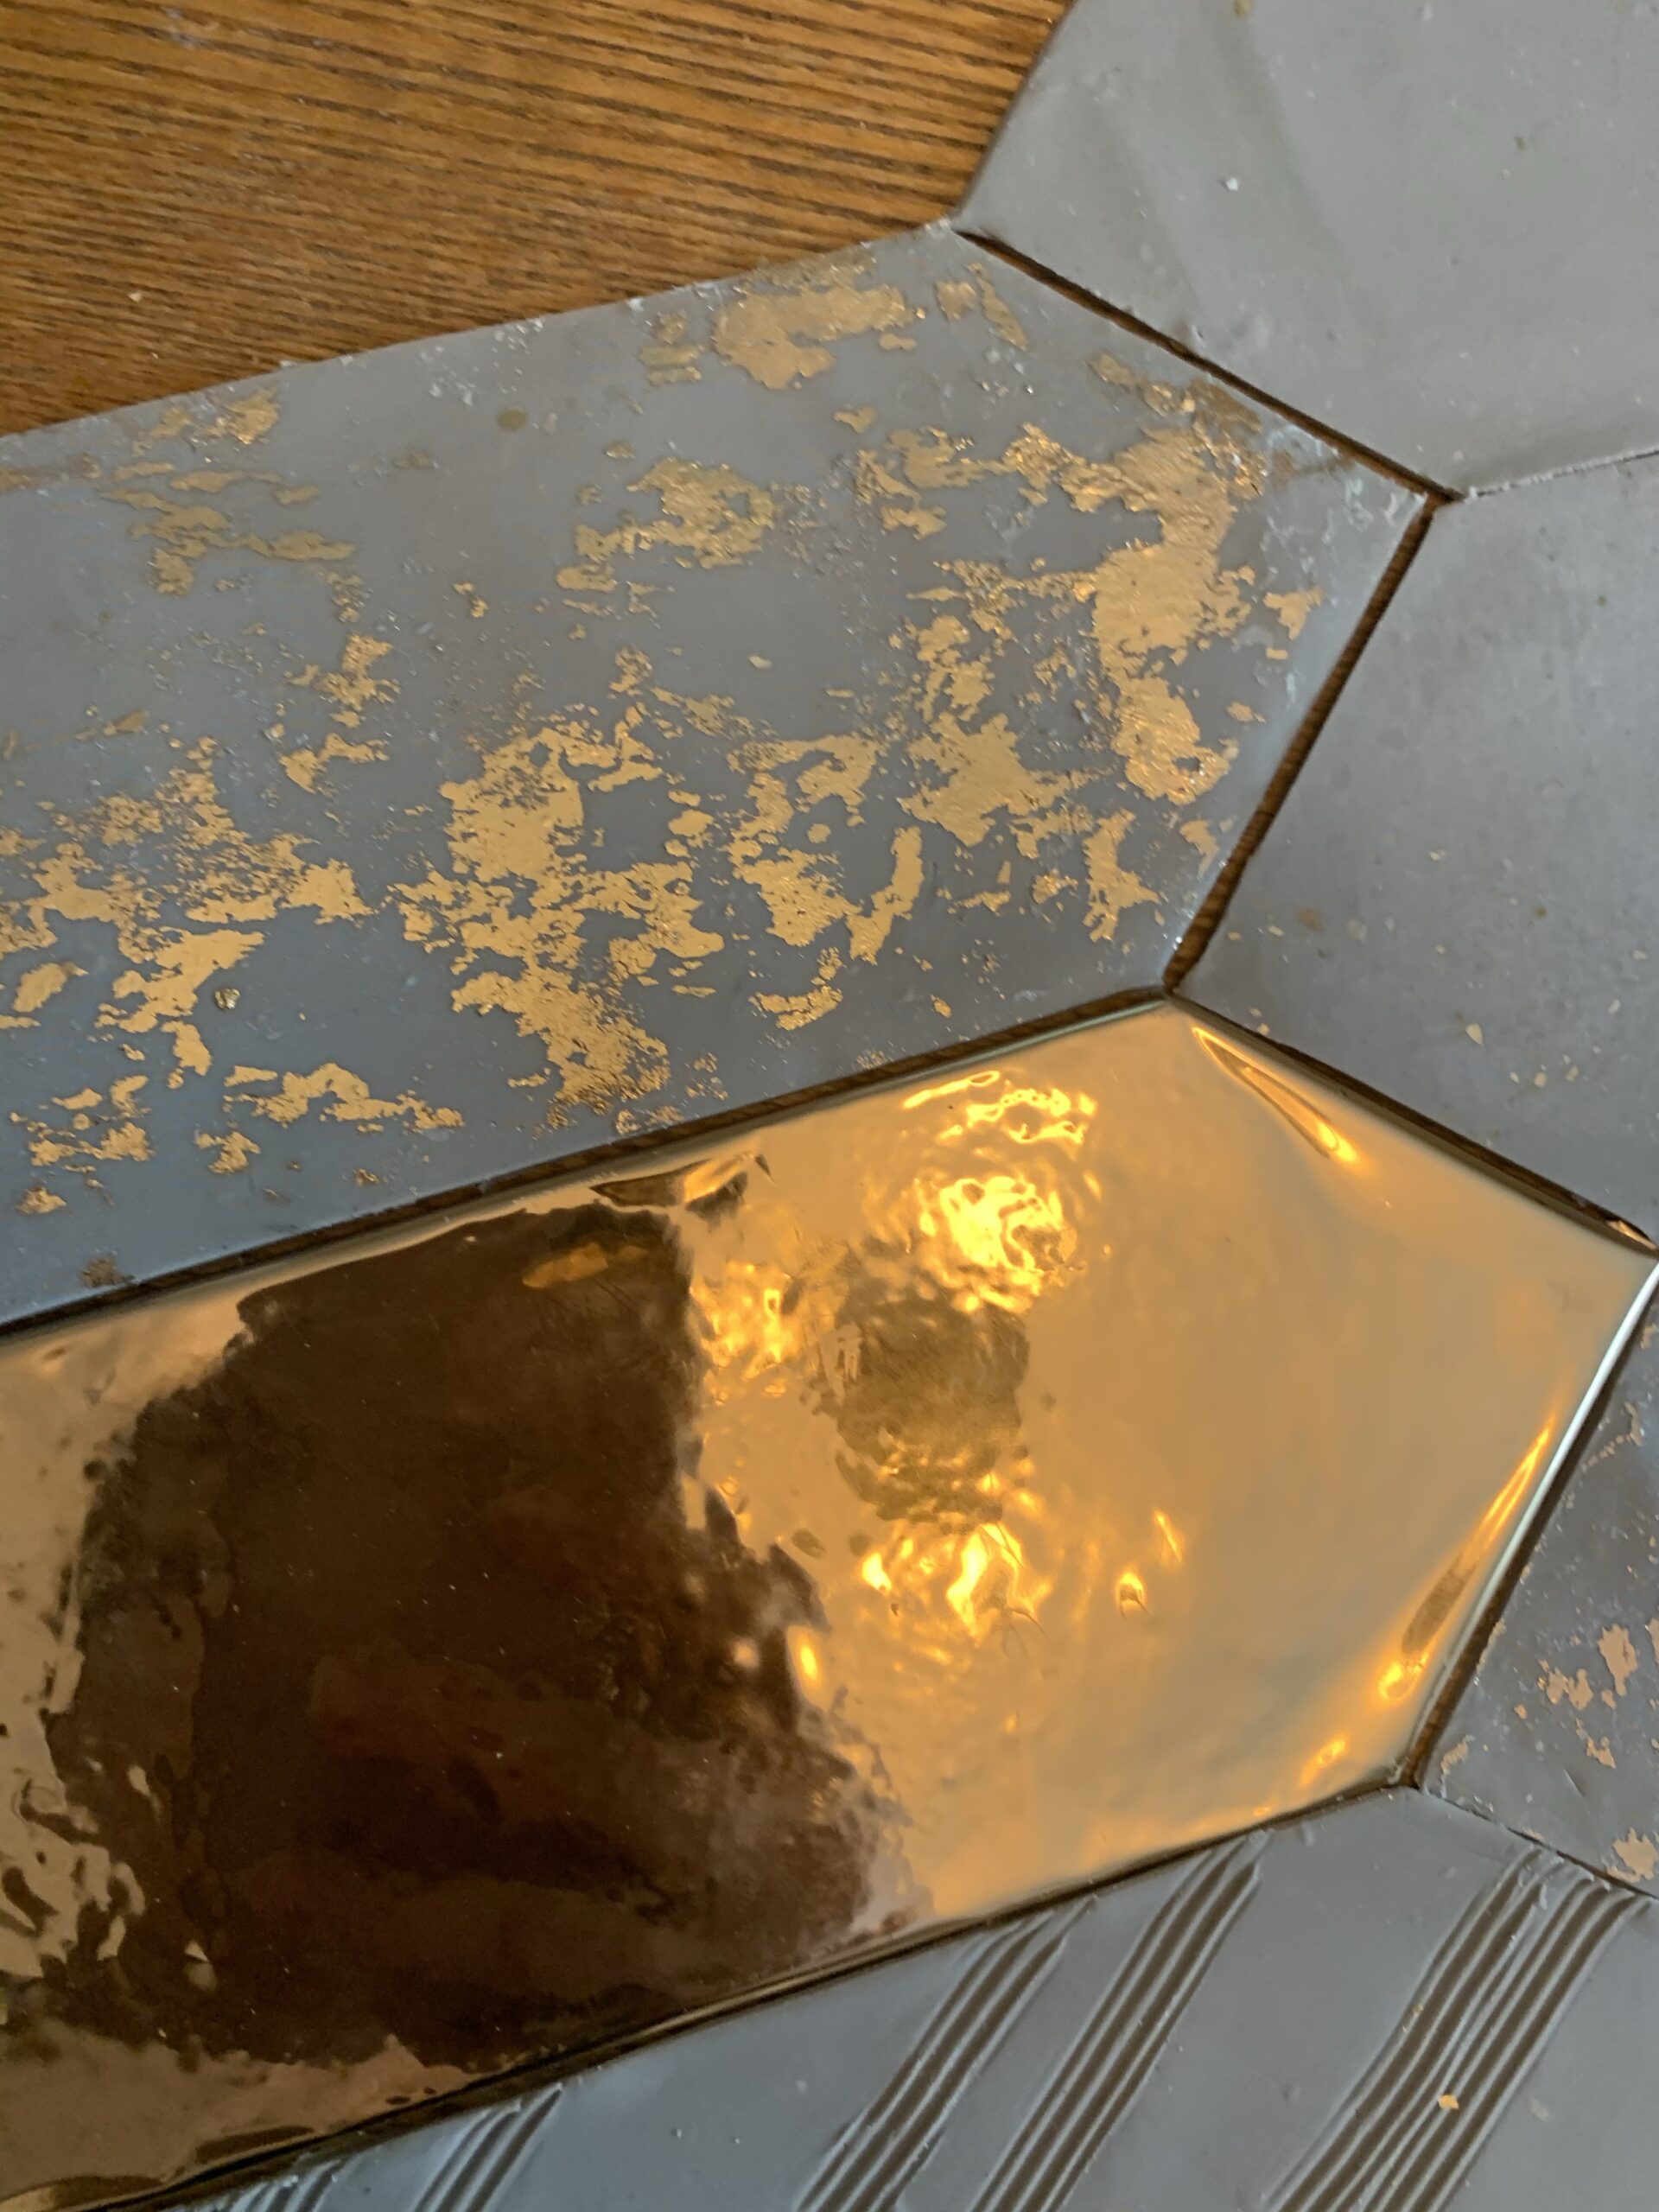
For the rose gold accent tiles, I used this foil because it was the perfect shade for me. I am creating gold and rose gold kitchen to go with the very tope, grey, and wood accents that it has already.
Tools
I didn’t need much in the way of tools and used as few as possible, just getting what I needed. This was my first time working with polymer clay though I do have a background in classic ceramics and sadly no kiln of my own. So I had the basic knowledge of what I would need from my experience with clay and it seems that I didn’t go wrong.
Many people recommend a pasta machine to soften the clay and to help knead it, and you can if you want but I chose to instead massage the clay and I am going to post a video to my tiktok about how to bypass the need for a pasta machine but it would help and I am not saying not to get one, just that if you are on a budget like me you can do without it.
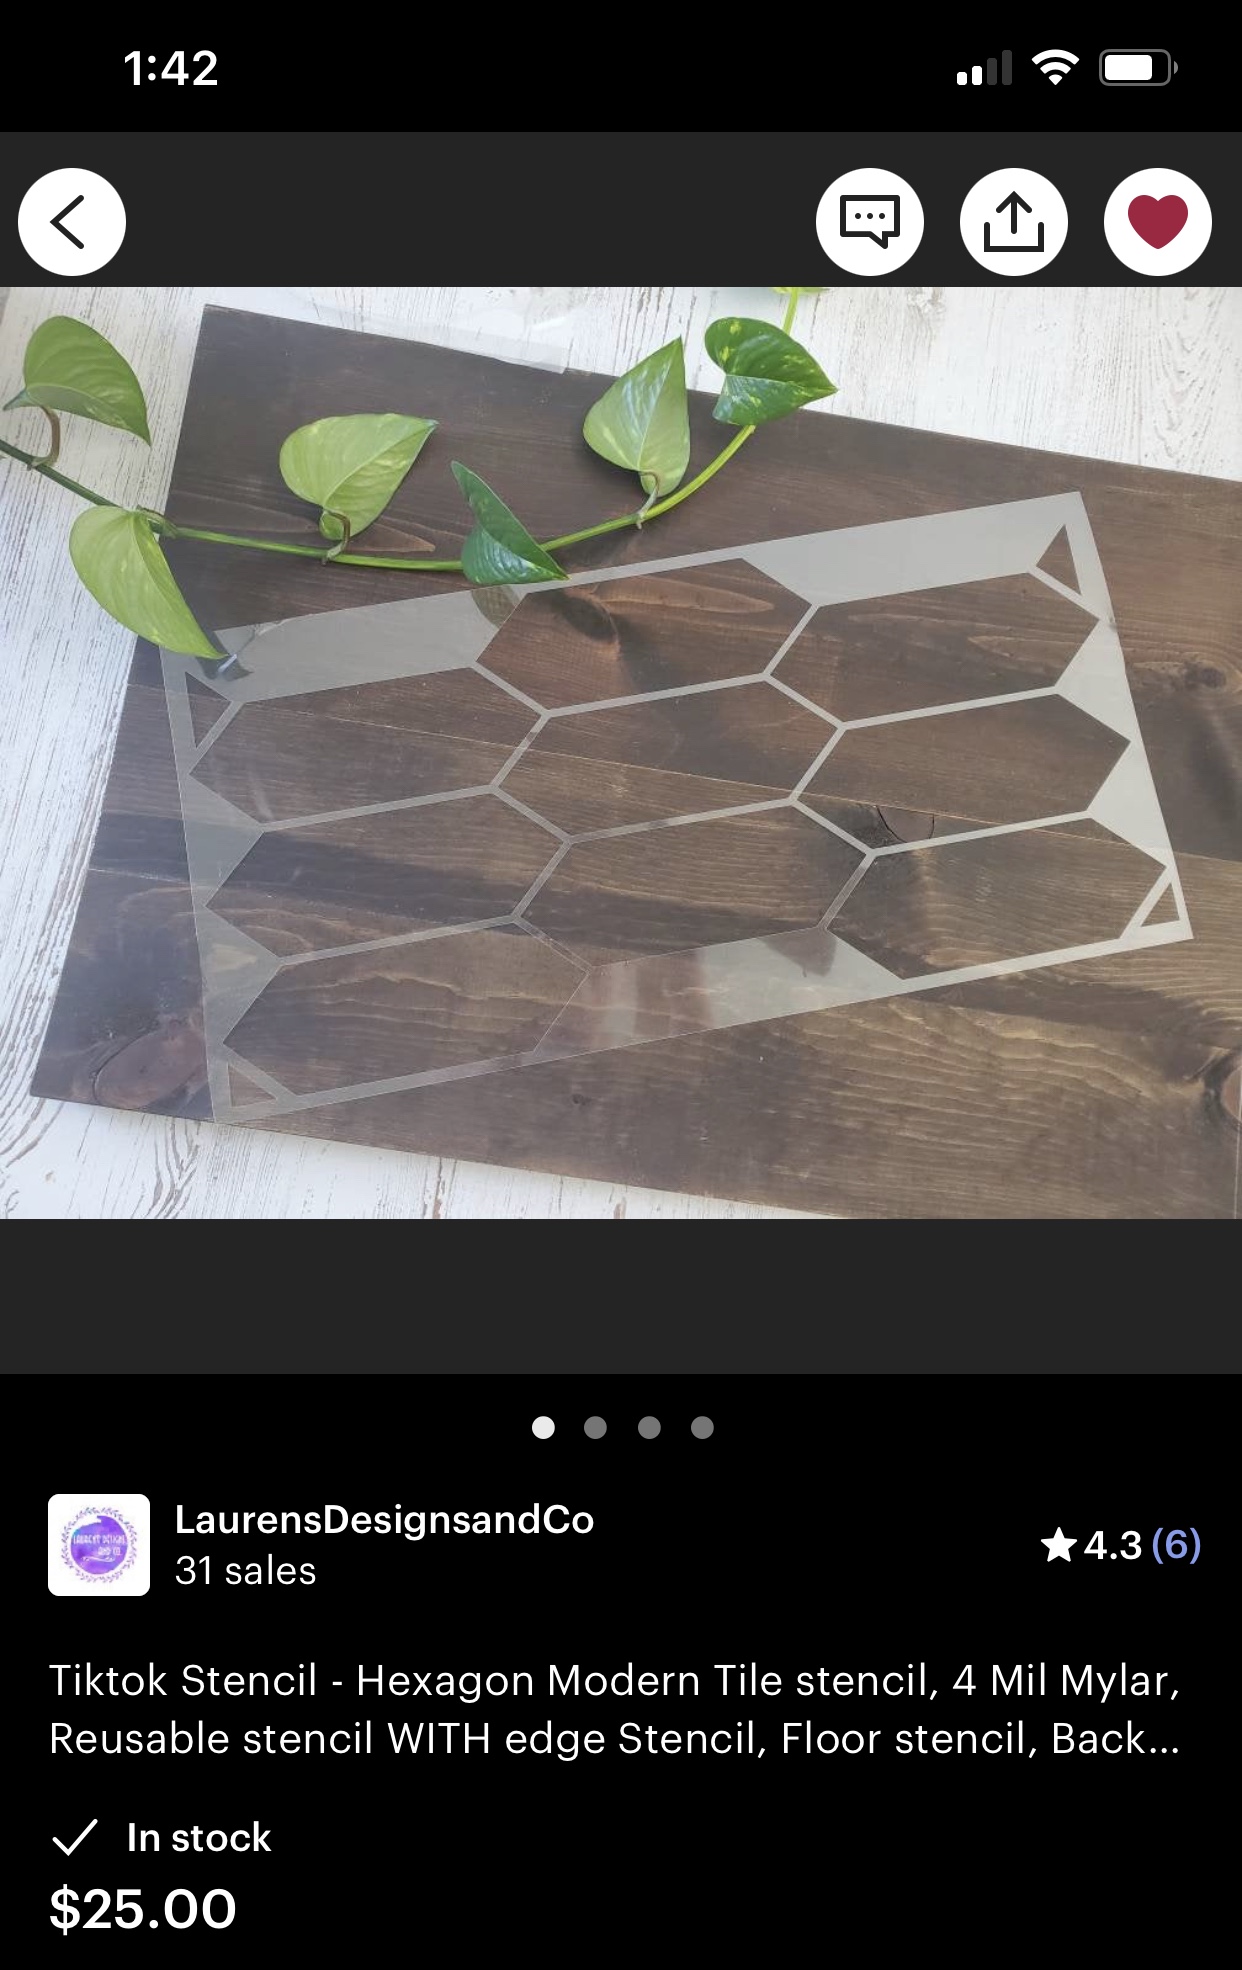
This is the stencil that I used, I saw someone on tiktok use it to paint a backsplash and that is what inspired this project, you can find Lauren’s shop on Etsy and I had to order when I saw that she is a small Kentucky business like myself. This was the most relatively expensive item but the tiles were exactly what I was looking for both in shape and size.
One thing I DID need was this very cheap roller to help me get everything into a flat sheet. But if you have a roller in your kitchen it should work just as well. This one is only $5.
YOU NEED WAX PAPER. It doesn’t matter what brand you get but some wax paper that you can bake is essential for keeping your tiles FLAT after rolling them. If you try to move it after rolling and cutting your tiles you risk warping the tile so that it won’t lay flat. I made my tiles one at a time and while one was baking for 15 minutes, I was making the next tile. I would hear the timer and take it out, dump it and flip it over placing a flat pan on top to help keep it flat while it cooled. Because it was so hot after coming out of the oven, the wax paper made it easy for me to pull it off the pan and flip it right away.
For your clay tools, I just got this very cheap set which was perfect and offered a wide variety of sculpting tools. I used the little hand to make the textured lines, and the little knife to cut the stencils. Honestly, if you don’t intend to add any texture you can get away with using a butter knife. Again it is only about $5 and after you fall in love with the ease of polymer clay you might like to have these around.
and last but not least, this is optional, I ordered this because I intend to epoxy the top of the gold tiles and foil tiles. I have not done it yet, but this is the one that I ordered.